Explanation of every buttons of the user interface.
Record
IMPORTANT BUTTON: Like with a video cam recorder, it starts to record the moves of the players. Or switches to the Edit mode in other words. You need to acitvate it if you want to modify an existing animation.
Click on the eraser, then on the object you want to erase. On a player, it erases his trajectory and his behabvior INSIDE/ONLY for the current step. On a zone, arrow or an object, it erases the object.
Generates the 3D animation from your 2D drawing. It generates a workingfile and opens the 3D Viewer the first time (can take some time, depending on your computer). Don't close the 3D Viewer, it will be refreshed automatically each time you click on this button. IMPORTANT: each time you modify something in your design, you must click on this button to refresh the animation played in our 3D Viewer.
Generates a PDF document in the old basketball way with standard basketball symbols with arrows, lines. Every step of the animation becomes a page you can print.
You can zoom in and out whith fingers or wheelmouse. Just drag and drop the circles with the numbers to put the players on the field. You can right-click+ hold the button + move the mouse to rotate the player before drawing the animation.
The head of the letters/numbers shows the gaze direction.
Display the list of 3 standard formations: 3-2, 4-1, 5-0. The goal is to win time. In one click, you can have all the players already located in a standard way you can modify. You have the choice to get defensive players or not.
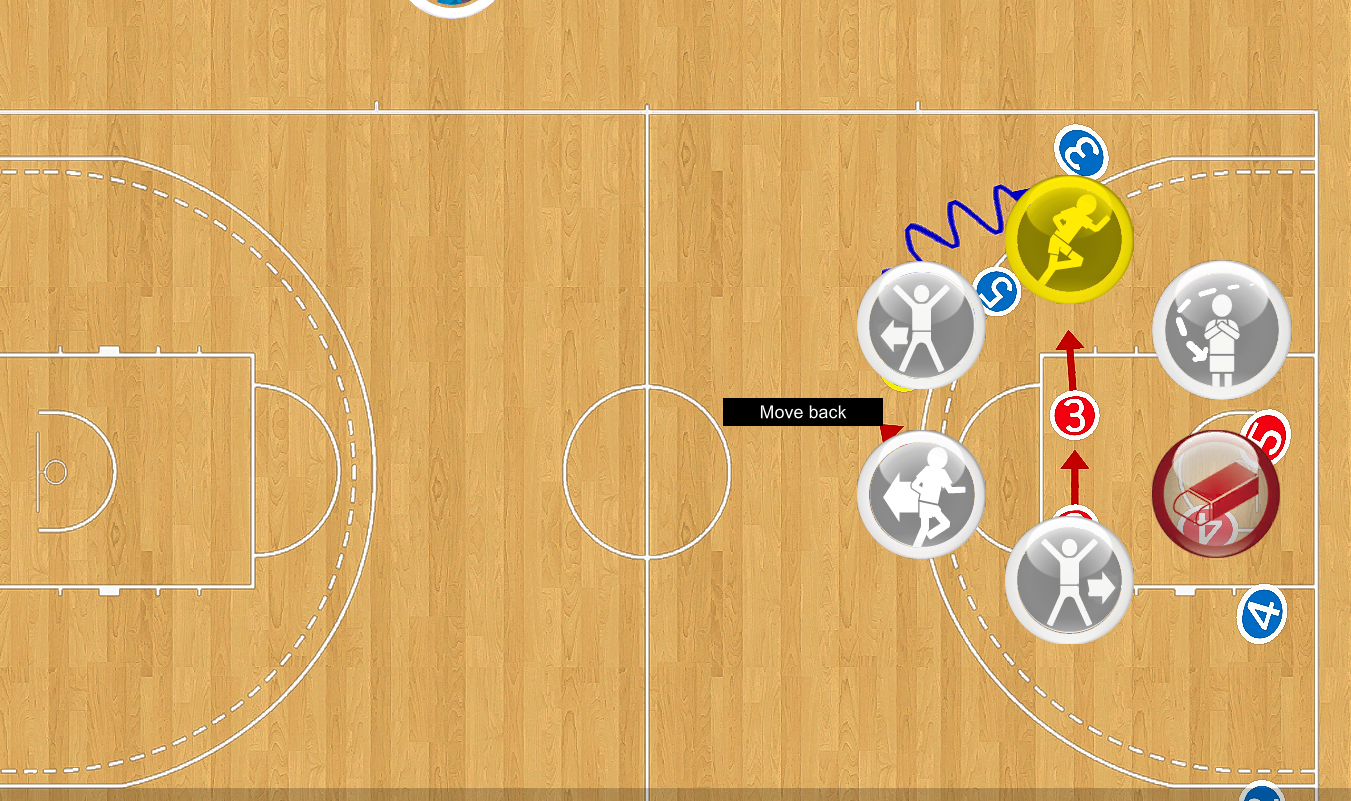
On Windows, Mac, right-click or double click on a player to display the Gestures menu. On touchscreen device, tablet-iPad-Touchscreen, double-tap opens it. The list of the" gestures depends on the context of the player, if he has the ball or not, if he's moving or not. Each icon has tooltip that explains the gestures.
Moving: move forward, move backward, side-step with the right foot first in the direction of the arrow, side-step with the left foot first in the direction of the arrow, move + screen at the end of the move
Shooting: lay-up, jump shoot, dunk.
Passing: chest pass, overhead, rebound pass.
Defense: defending with the arms down, defending with the arms streched updward, taking the rebound.
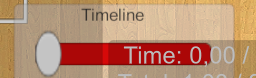
Timeline: the red part indicates the elapsed time since the beginning of the step. Use the slider to go back and forward in time, you'll see the numbers below changing.
The Timeline is very important to manage the timing of your passes, and the paces of your players. Each time you design a step, use the timeline to check the timing of your pass, and the collision or not between players, if they're crossing correctly, etc...
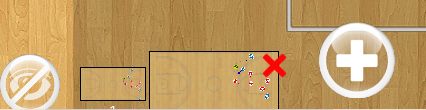
Click on the red cross to delete a step. To keep logic and consistency, if you delete a step, if it's not the final step, it deletes all the following steps of the animation.